Global calibrations
Overview
In Viper.NET, calibrations can be created globally and referenced and used by a unique name. Via Gefasoft menu -> Functions -> Edit Calibration you get to the overview of calibrations:
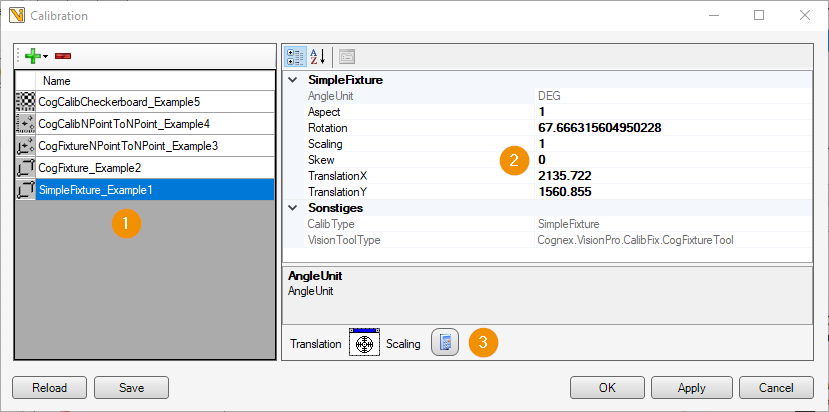
On the left side (1) is the overview of all created calibrations, details and parameters on the right side (2). The details differ depending on the calibration type.
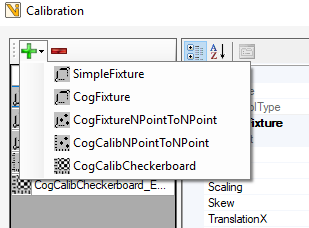
New calibration keys can be added or removed via (+) and (-).
Warning
Each calibration in Viper.NET is loaded only once and assigned directly when used in jobs or ToolGroup items. This means that changes to the calibration within the job directly affect the global calibration and thus also all other jobs in which this calibration is used. Exception: For SimpleFixture the values are assigned. Changes within the job therefore do not affect the global calibration.
The following types are currently supported:
SimpleFixture
Calibration key is obsolete: Use of CogFixture recommended!
Corresponds to the type CogFixture, but here the values are used and no stored calibration.
The parameters can be edited directly here. Via “Translation” (3) a reference position in the image can be set and via “Scaling” (3) a scaling value can be calculated. These functions serve as a help. However, individual parameters for calibrations should be calculated and set automatically in the program.
CogFixture
For use with a CogFixtureTool, see Cognex VisionPro documentation.
CogFixtureNPointToNPoint
For use with a CogFixtureNPointToNPoint, see Cognex VisionPro documentation.
CogCalibNPointToNPoint
For use with a CogCalibNPointToNPoint, see Cognex VisionPro documentation.
CogCalibCheckerboard
For use with a CogCalibCheckerboard, see Cognex VisionPro documentation.
The actual calibration data is stored in the application folder in the subfolder Data\Calib as .dat files.
Hint
Make sure to assign unique file names to the parameters for the calibrations.
Using the global calibrations
Link
To apply a calibration, a suitable tool must first be inserted into the ToolgroupItem flow.
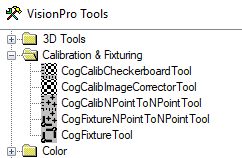
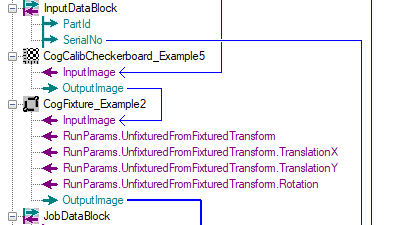
The new tool must then be linked to the global calibration. In Toolgroup Item Editor under Image sources you will find the area “Calibration Assignment” (1). Here the previously defined global calibration can be assigned to the tool.
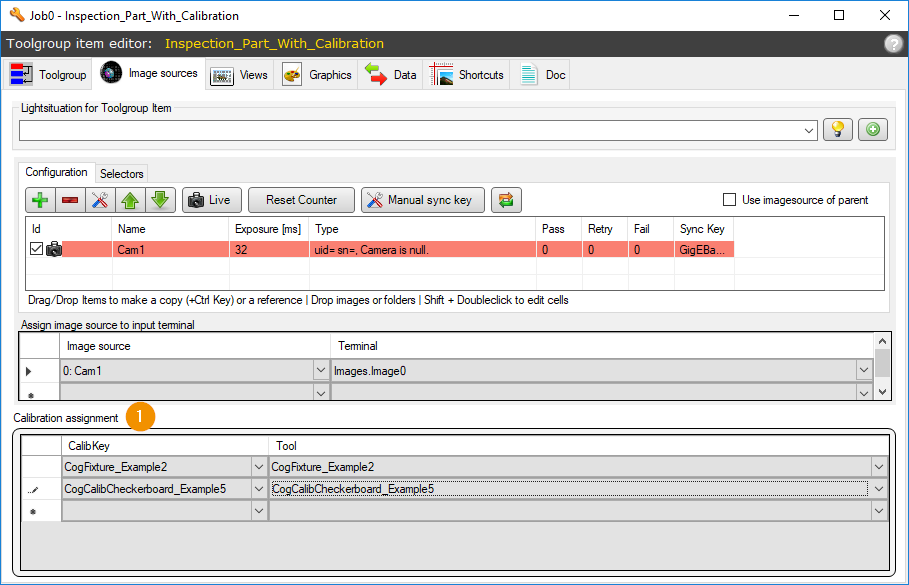
Assign
The assignment of the calibration, i.e. the setting of the values in the calibration tool, takes place each time the job is executed. The following applies:
Newly created global calibrations are “empty”. In this case the values or the RunParams from the tool are taken over as global calibration.
Otherwise the values or RunParams of the global calibration are assigned to the tool.
Hint
After creating and linking a calibration tool, the job must be executed once to set the calibration in the tool. The complete job must be executed and not just the individual tool.
Hint
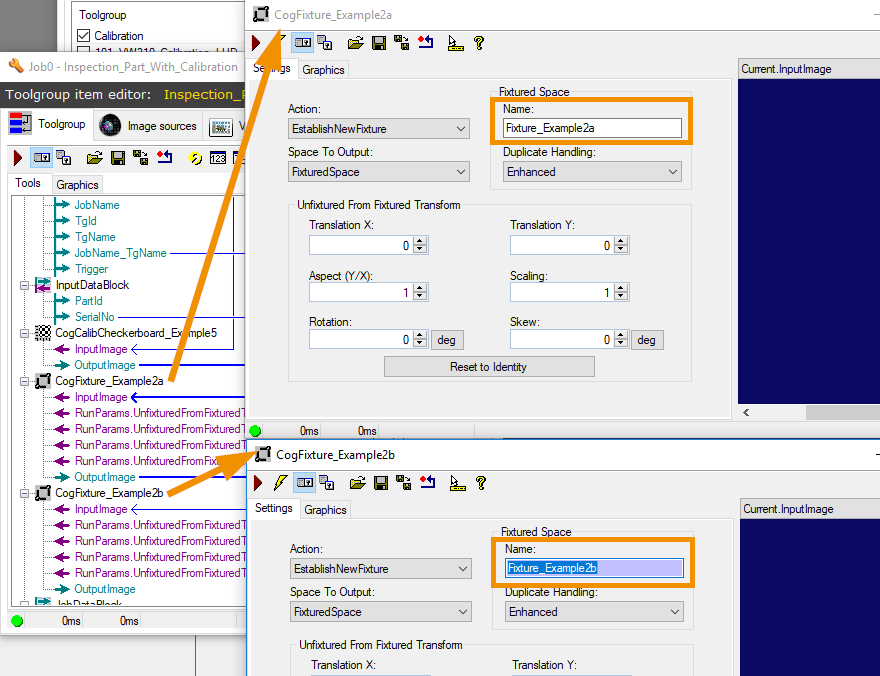
It makes sense to name calibration keys and calibration tools appropriately. If several calibration tools of the same type are used, they must be named uniquely internally, otherwise calibration objects created in VisionPro will be overwritten.
Hint
“Calibration ToolgroupItem” for automated calculation of a calibration
A “Calibration ToolgroupItem” is required to calculate a new calibration and to compare it with the global calibration or to overwrite it. Depending on the application, this is carried out once for commissioning or at regular intervals.
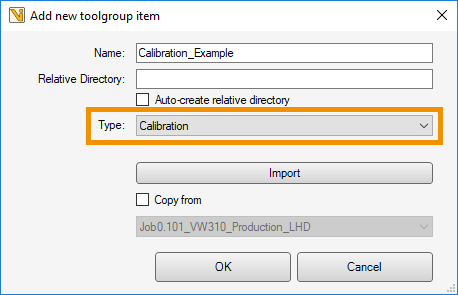
When creating a tool group item, “Calibration” must be selected as the type:
Default ToolgroupItems and Calibration ToolgroupItems are displayed in the Job Editor:

As with a default ToolgroupItem, the corresponding calibration tools must be inserted into the image processing job.
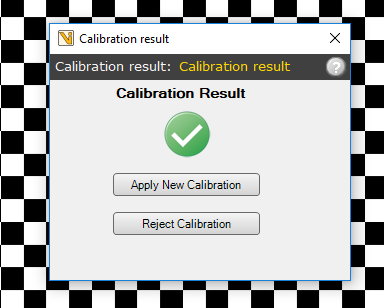
In Toolgroup Item Editor under Extensions (1) the calibration keys can be linked to the VisioPro tools (2). At the same time there is the possibility to create a user dialog(4) which gives the user an insight into the calibration status and expects a confirmation from the user. For this purpose, elements of the Calibration selection (5) can be “dropped” onto the dialog in the middle. With “Accept/Reject” buttons can be added to accept/reject the calibration and thus give feedback to the higher-level controller. If a calibration is to be saved, this must be done with the button “Apply new calibration”. On the right side(6) are further settings for the display of the calibration dialog, such as the text content.
Warning
Wenn eine Kalibrierung über das Calibration-ToolgroupItem geprüft bzw. verändert werden soll, muss diese zwingend über Extensions zugewiesen werden und nicht über Assignment of calibrations. Ansonsten werden Änderungen an Kalibrierungen ohne Prüfung übernommen!
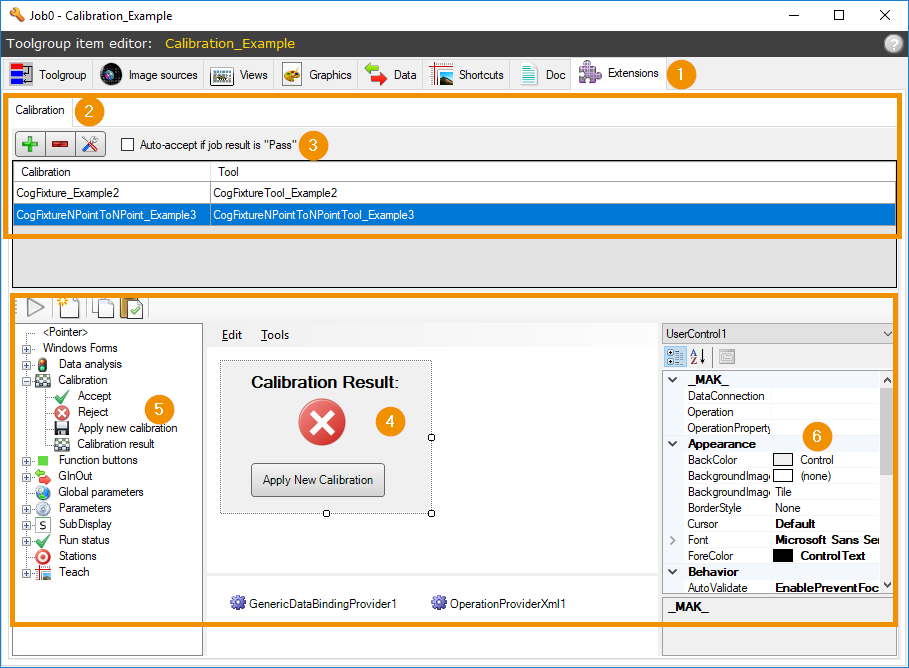
Activating “Auto-accept if job result is “Pass””(3) prevents the calibration dialog from opening and automatically accepts (no overwriting) the new calibration. Otherwise the calibration dialog opens with the preconfigured display and the calibration result.
